前回書いた Astro でブログをリニューアルした の記事では、Astro を使ってブログを作成する方法を概観しました。この記事では rehype-toc を使って、ブログ記事に目次を追加する方法を紹介します。
プロジェクトの作成
目次を追加する流れを説明するために、まずは新規プロジェクトを作成します。
$ npm init astro -- --template blog$ tree -L 4
.
├── README.md
├── astro.config.mjs
├── package-lock.json
├── package.json
├── public
│ └── ...
├── src
│ ├── components
│ │ ├── BaseHead.astro
│ │ ├── Footer.astro
│ │ ├── FormattedDate.astro
│ │ ├── Header.astro
│ │ └── HeaderLink.astro
│ ├── consts.ts
│ ├── content
│ │ ├── blog
│ │ │ ├── first-post.md
│ │ │ ├── markdown-style-guide.md
│ │ │ ├── second-post.md
│ │ │ ├── third-post.md
│ │ │ └── using-mdx.mdx
│ │ └── config.ts
│ ├── env.d.ts
│ ├── layouts
│ │ └── BlogPost.astro
│ ├── pages
│ │ ├── about.astro
│ │ ├── blog
│ │ │ ├── [...slug].astro
│ │ │ └── index.astro
│ │ ├── index.astro
│ │ └── rss.xml.js
│ └── styles
│ └── global.css
└── tsconfig.json
テンプレートを使ったので、シンプルなマイクロブログが既に出来上がった状態になります。立ち上げて記事を見てみます。
$ npm run dev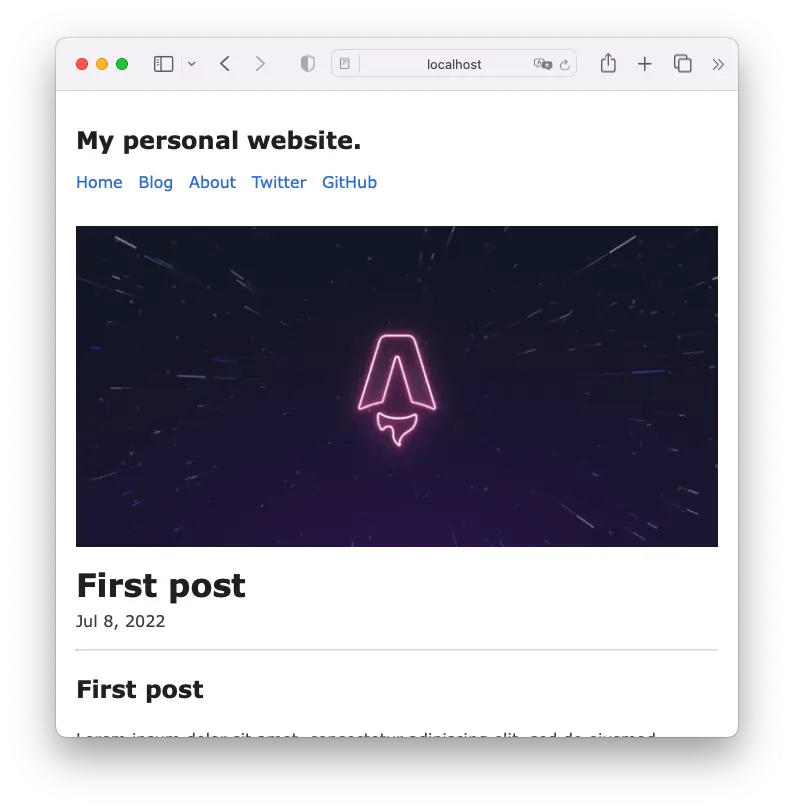
テスト用の記事を追加する
src/content/blog/test.md に新しい記事を作成して、この記事でテストしていきます。h2 と h3 の見出しを追加します。
---
title: "Table of Contents Test"
description: "This is an post to test TOC"
pubDate: "Jul 22 2022"
---

## Introduction

## Body
### Main
### Second

## Conclusion

Hello, World!
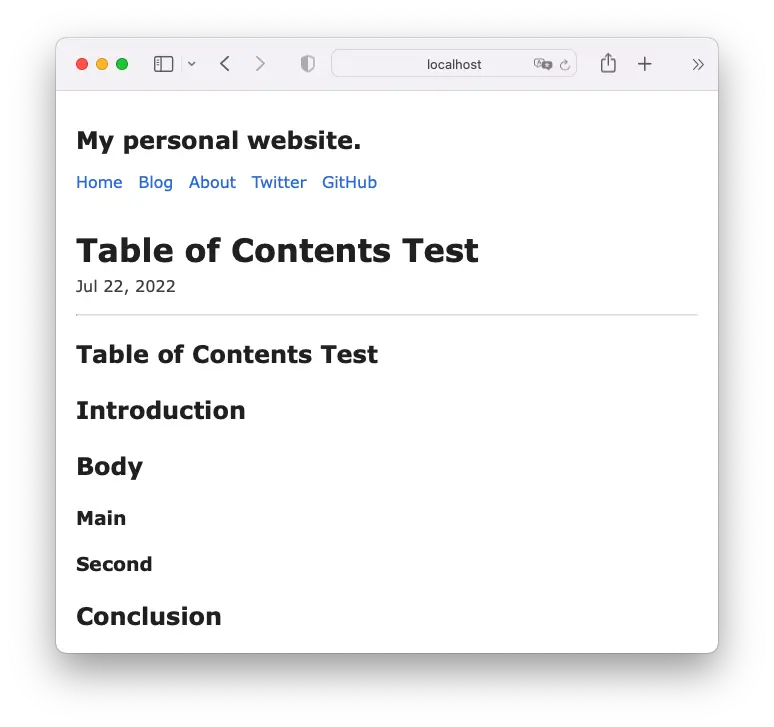
rehype のプラグインをインストールする
次に、目次を実装するための rehype のプラグインをインストールします。
$ npm i rehype-slug rehype-tocrehypeとは HTML のプロセッサです。Markdown から出力された HTML から目次を生成します。
- rehypejs/rehype-slug : heading 要素に
id属性を付与してくれるプラグイン - JS-DevTools/rehype-toc : 目次を生成してくれるプラグイン
Astro では rehype のプラグインを簡単に導入できます。astro.config.mjs に設定を追加するだけで、記事の冒頭に目次が生成されるようになります。
 ...
 export default defineConfig({
   site: "https://example.com",
   integrations: [mdx(), sitemap()],
+  markdown: {
+    rehypePlugins: [
+      "rehype-slug",
+      ["rehype-toc", { headings: ["h2", "h3"] }],
+    ],
+  },
 });
今回は、記事内では h2, h3 のみが使われる想定で、それらのみを対象に目次を作成しています。
目次のHTML要素は <nav class="toc"> として生成されるので、見た目も少し調整しておきます。src/styles/global.css を編集します。
...
blockquote {
  border: 1px solid #999;
  color: #222;
  padding: 2px 0px 2px 20px;
  margin: 0px;
  font-style: italic;
}
+
+.toc {
+  border: 2px solid #efefef;
+}
+
+.toc ol {
+  list-style: none;
+  counter-reset: toc;
+  padding-left: 32px;
+}
+
+.toc ol li {
+  counter-increment: toc;
+}
+
+.toc ol li:before {
+  content: counters(toc, ".") " ";
+}
枠線を追加し、字下げに対応して番号を振るようにしてみました。
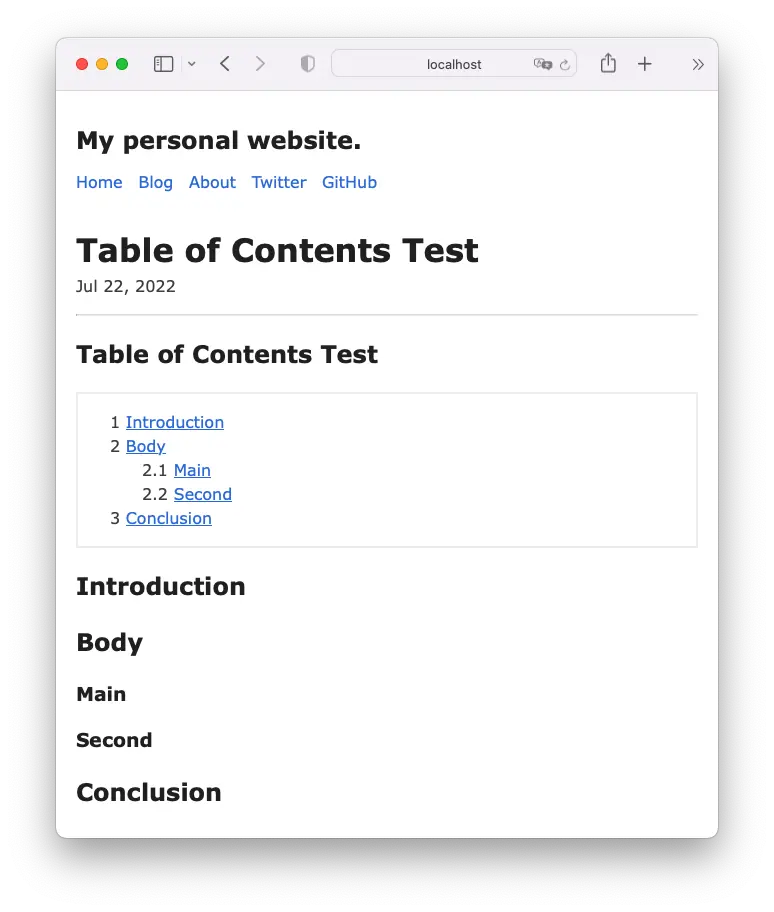
簡単で素晴らしいですね、完了です!
目次にスタイルをあてる際に style タグの使い方には注意してください。Astro での style タグは、デフォルトでそのページだけに適用される scoped なスタイルとなりますが、目次はあくまで記事の一部として生成されており、ページ単位のクラスが付与されないため適用されません。
  ...
  <article class="astro-BVZIHDZO">
    <h1 class="title astro-BVZIHDZO">Table of Contents Test</h1>
    ...
    <!-- ここからが <Content /> の要素 -->
    <nav class="toc"> <!-- astroーXXXX のようなクラスが振られない -->
      <ol class="toc-level toc-level-1">
...よってglobal.css に書くか、 <style is:global> を使ってグローバルスタイルにするのであればタグを使っても大丈夫だと思います。
目次の表示を制御する
ここからの内容はお好みになります。まず、記事によっては目次が不要なこともあるので、記事毎に目次を表示するか設定できるようにしたいと思います。
今回は src/content/blog/test.md の記事だけ表示したいと仮定します。記事の frontmatter に showToc を追加します。
 ---
 title: "Table of Contents Test"
 description: "This is an post to test TOC"
 pubDate: "Jul 22 2022"
+showToc: true
 ---
...デフォルトでは目次が表示される状態なので、src/layouts/BlogPost.astro で showToc に応じて非表示にします。
 ---
 ...

-const { title, description, pubDate, updatedDate, heroImage } = Astro.props;
+const { title, description, pubDate, updatedDate, heroImage, showToc } = Astro.props;
 ---

 ...
       }
     </style>
+    {!showToc && (
+      <style is:global>
+        .toc { display: none; }
+      </style>
+    )}
   </head>
test.md 以外のページでは目次が非表示になりました。

見出しにリンクを追加する
さらに、目次とは直接関係ないですが、rehype-slug で見出しにジャンプできるようになったので、下記のような見出しへのリンクも取れると便利でしょう。
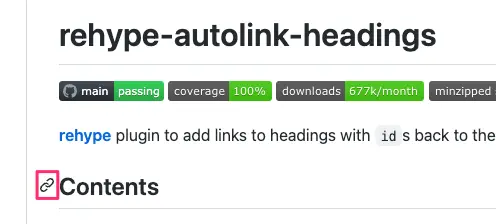
これは rehype-autolink-headings を使うと実現できます。インストールして astro.config.mjs に設定を追加します。
npm i rehype-autolink-headings ...
markdown: {
rehypePlugins: [
"rehype-slug",
+ [
+ "rehype-autolink-headings",
+ {
+ behavior: "append",
+ content: {
+ type: "element",
+ tagName: "i",
+ properties: {
+ className: ["heading-anchor", "fa", "fa-link"],
+ },
+ children: [],
+ },
+ },
+ ],
+ ["rehype-toc", { headings: ["h2", "h3"] }],
+ ],
["rehype-toc", { headings: ["h2", "h3"] }],
],
},
});今回は簡単のために、 behavior="append" を指定して heading 要素内の末尾にリンクを生成するようにします。また、Font Awesome のアイコンがリンク内に生成されるよう、content を hast で記述します。
src/components/BaseHead.astro 内で Font Awesome の CSS を読み込みます。
<link rel="stylesheet" href="https://cdnjs.cloudflare.com/ajax/libs/font-awesome/6.3.0/css/all.min.css" />すると生成される h2 が次のようになり、見出し内部に a タグとアイコンが挿入されているのがわかります。
<h2 id="introduction">
  Introduction
  <a aria-hidden="true" tabindex="-1" href="#introduction">
    <i class="heading-anchor fa fa-link"></i>
  </a>
</h2>
最後に src/styles/global.css で、見出しにカーソルを合わせたらアイコンが表示されるようにしてみます。
...
+ .heading-anchor {
+   visibility:hidden;
+   font-size: 1rem;
+   margin-left: 0.3rem;
+ }
+
+ h2:hover .heading-anchor {
+   visibility:visible;
+ }
+ h3:hover .heading-anchor {
+   visibility:visible;
+ }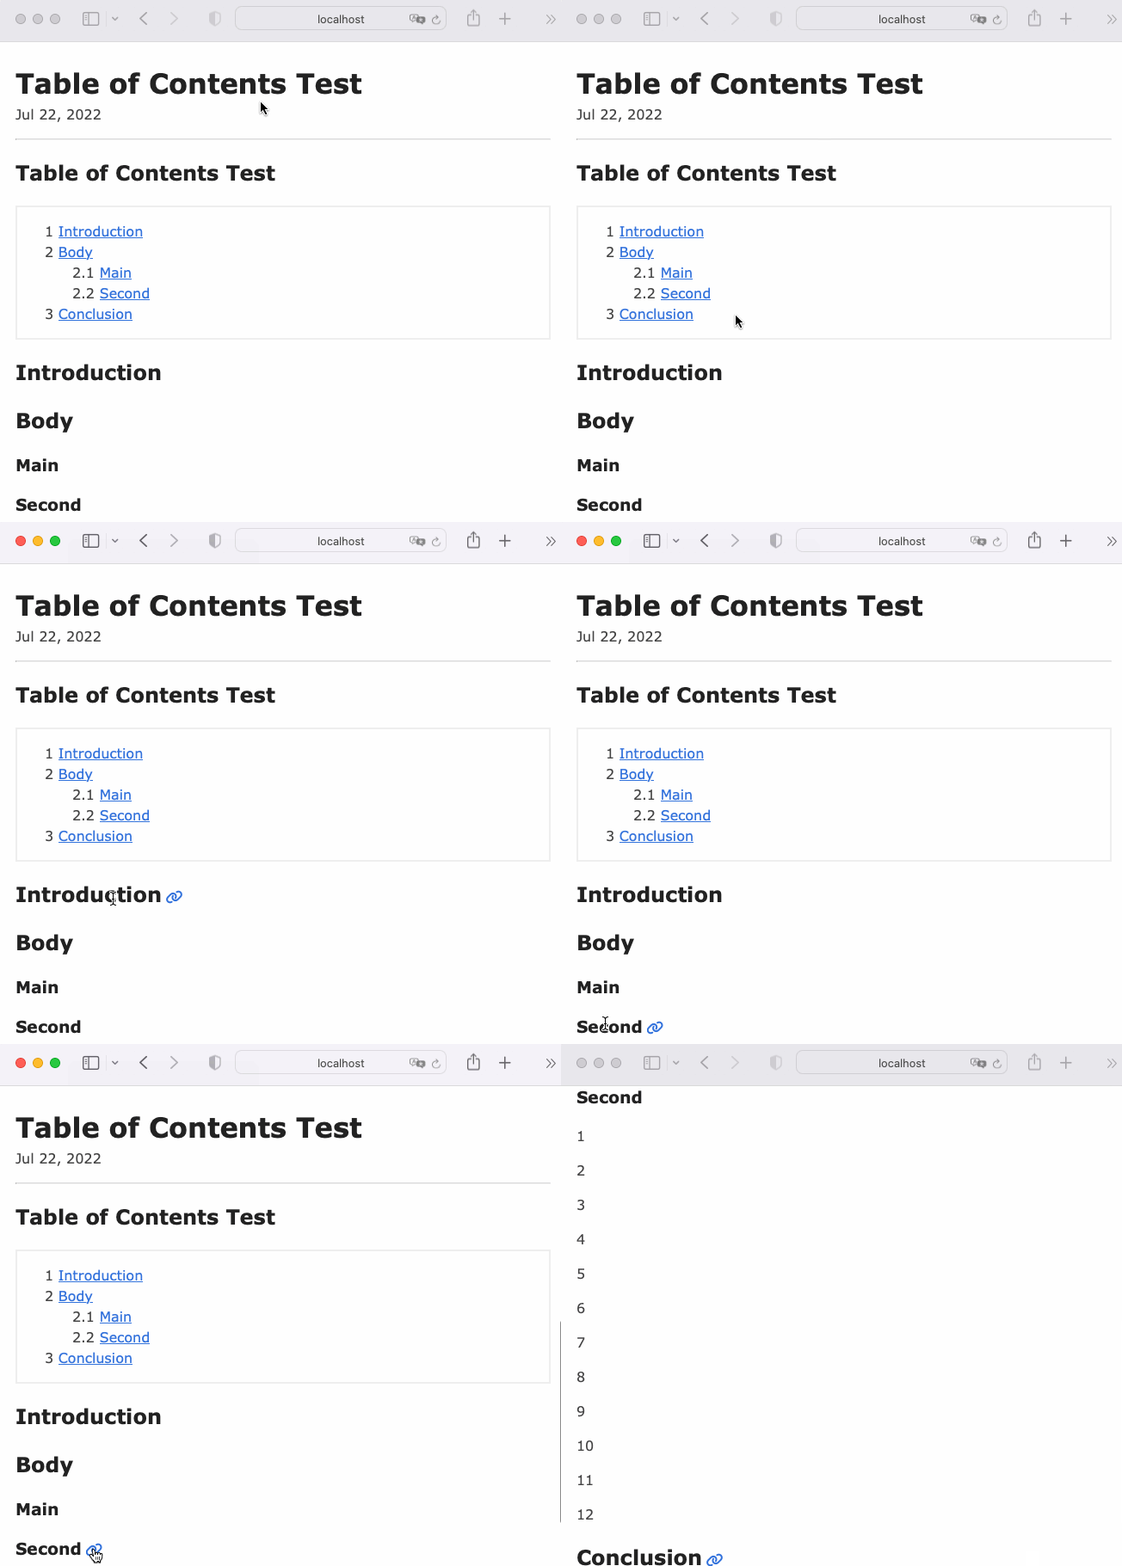
簡易的ですが、見出しからもリンクを拾えるようになったのでコピーしやすくなりました!
さいごに
Astro のブログに目次を作成する方法を紹介しました。rehype のプラグインを使うことで簡単に実装できることがわかりました。remark のプラグインとも連携できるので、他にも色々なことに挑戦できそうです。
今回作成したコードは raahii/astro-toc-example に置いていますので参考にしてください。
